Showing posts with label DIY Projects. Show all posts

Wednesday, April 10, 2013

Tuesday, February 14, 2012

Etsy Inspiration

Happy Valentine's Day!!
I hope your day is filled with love and lots of chocolate of course =)

Today I am writing about a project that I did based on something I saw on Etsy.
Call me a copy cat if you want, but I call it thrifty!!
One day when I was surfing the web I came across this print. I was shocked that the seller was charging $24. I thought, ok, maybe that is the cost of the frame, but NO! The matte and the frame have to be purchased separtely. Are you kidding me?! Well I thought this was a cute idea, so I decided to see if I could just do it myself. It was actually easier than I thought. I had some trouble getting the special phrase to rotate and stay where I wanted it to, but once I figured it out, I kind of went overboard.
The one below is for DH and I. I didn't include Caroline's birthday because I wanted it just to be our dates. The pictures look a little blurry, but that's just because I had to print screen them to share them with you! 

 This one is for DH's parents:

This one is for my parents:
What I love about this project is that the colors, dates and text can be easily customized for any event or theme! AND...if you want me to make you one, I'll only charge you $10..lol.

Thursday, February 9, 2012

L-O-V-E

Since we're all in the mood for Valentine's Day here is a great idea I saw on Tip Junkie.
Make your own Love Yarn wrapped letters. You can buy these letters at Hobby Lobby and if you use a coupon you can get them for 40% off which means super cheap. Same with the yarn. You will need 3 different colors.  You know I like cheap, so these are right up my alley. I don't really have anywhere in my house where I can even put this, so I probably won't be making it any time soon, but maybe for my next house..
View the tutorial here

Tuesday, February 7, 2012

Argyle Valentines Wreath

I’ve been a little bit into yarn lately –you will see another yearn craft for Valentine’s day on Thursday. I love these crafts because they are cute and more importantly CHEAP! There is a whole tutorial on Remodelaholic about how to make one of these. Remember you could easily customize this with other shapes and colors for other holidays. I think a red white and blue one with stars for the 4th of July would be really cute too.

View the tutorial here.


Thursday, January 26, 2012

DIY Coasters

I don’t really use coasters at my house, because we don’t have any end tables in the living room due to TOYS, TOYS and more TOYS. My cousin asked for coasters for Christmas and so I bookmarked this page to make your own. I have so much cute scrapbook paper that I could use to make these. I am thinking about personalizing with a  letter for a last name or something like a tree or leaf…ideas everywhere. Again…another cheap DIY craft that looks really nice.


View the tutorial here.

Thursday, January 12, 2012

DIY Crepe paper streamers

I love that there are so many simple ideas that can make such a big impact, especially in the party world.

These crepe paper streamer chandeliers are so easy to make and so cute too!!
View this from be different, act normal here.

Tuesday, January 3, 2012

Remodeling the House: The Nursery


When we moved into our house after we got married in 2006, we used this second bedroom as our room for awhile because it had a fan and the fan in our room hadn't been installed yet.

June 2006
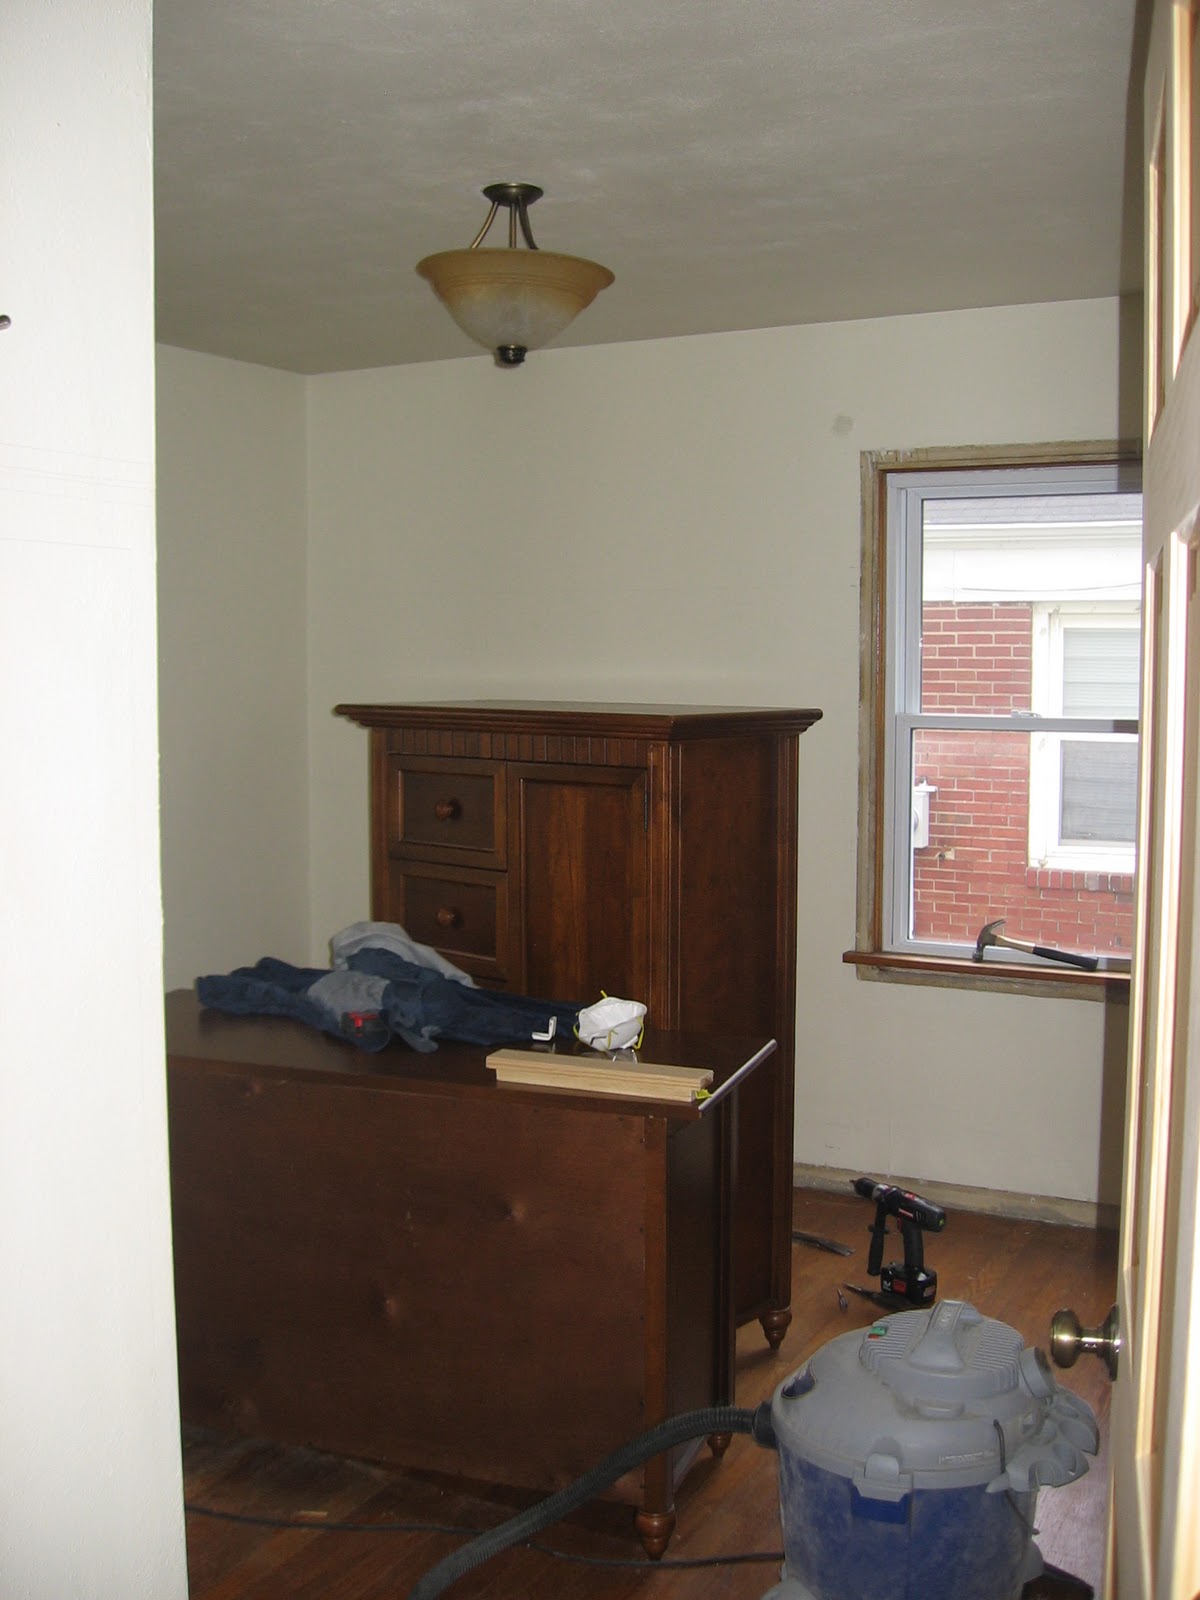
Before we moved in, the room was storage..obviously =)


Wow, now isn't that a romantic master bedroom?


This is the view looking into the room from the hallway.
Once our room was finished, we moved into the real "master bedroom." There's really nothing master about it, but we sleep there, and we are the master's of the house, so there you go.
Once we moved across the hall, the room became an office and a catch all room for pretty much everything else. And to be honest, I kind of missing having a room with no purpose in my house.

Then we decided to have a baby. And have a baby we did. So the no purpose room now became the baby room. Everything had to go. Strangely enough, I don't remember most of that process. That must have happened during the 5 terrible months of morning sickness. I could tell you where most of this crap ended up, but really-- you wouldn't care.

 When we talked about remodeling the nursery the first thing that we agreed on was that we wanted to keep it neutral and not look too babyish. We did find out that we were having a girl, but we wanted to keep the room a neutral color so 1) when we have another child we don't have to paint again 2) sometimes they are wrong 3) if we move it's not obnoxious. On a side note, have you ever looked at houses online and seen all those rooms painted pink? I love pink, but man, most of them are just not Pottery Barn pretty. 4) We like neutral. A. Lot.  DH has been talking about doing board and batten forever I think. Pretty much our entire house is covered in wood of some sort, so this idea did not come as a shock to me. He decided that's what he wanted to do in this room. I had my doubts about how tall it would be and if there would be enough color to make the room not look white, etc, but he has this amazing ability to see what things can become and I just do not have that ability. I'm lucky he even let me help pick out the paint color. So here we go..
 
A door: it sounds kind of crazy, but for the longest time we didn't have any doors on our bedrooms. It was never really a problem when it was just the two of us, but now with a baby on the way, we needed a quiet place for the baby to sleep.
 
The view looking in from the hallway.
 
View from the closet: That hole on the right is an access to the bathroom plumbing (the bathroom is behind this wall) In the after photos this is the wall where the chifferobe and rocking chair are (blocking the access).

View from the hallway of board and batten mostly installed. At this point I am having my ah-ha moment and realizing that this is going to be awesome.
 View from the closet:...can you see the bathroom access?


11-29-2009 All the paint is done. We picked a color called Au Lait Ole. Don't know the brand, but we got it at Lowe's. DH had this great idea to paint a sky onto the ceiling and frame it like a window, so we painted up to the point where the frame goes in. That's why the light is just hanging out

 
Here's the view from the closet corner again. That's the chifferobe and the bathroom access is hardly noiceable. OoOh and our Winnie the Pooh bedding! I wanted to keep the bedding neutral for reasons already listed above and also because I couldn't find anything pink that I actually liked until Caroline was like 6 months old. Everything I loved was way too expensive or DH hated it. I love it and would do it all over again. We only got the dust ruffle, sheet, bumper and comforter and I want to say it was all only like $60 at Target! Score!

 Now onto the ceiling.
12-20-2009 The ceiling/sky is painted/framed and the light is hung back up like normal. DH recruitued his mom to paint the ceiling and she did a pretty fab job. She painted in all sorts of little stuff into the clouds that you can lay on the floor and try to pick out. So far we have found a kite, an angel and a bunch of little things, but she won't even tell us where everything is!
Also, let me just say that it is really hard to take a picture of a ceiling like this. You could probably do better..I just don't know.


And this is how the room looked when our Sweet Little Caroline arrived 2 weeks early on January 8, 2010.
This is significant because the carpet had not even been installed yet. So the day she was born the room looked like it did on the 20th of December. When I went into labor it was early on Friday morning. Our carpet was to be installed on Monday the 11th. So DH got up at like 5 AM and started moving the furniture out of her room and into the living room. The crib had not even been assembled yet. I think DH and his dad did it over the weekend while we were still in the hospital or something crazy like that which is kind of crazy, because she slept in our room for the first six months anyway. So..we ended up spending our first week at my in-law's house which worked out really well cause I had some babysitters when I needed a nap..but I digress..


Here is what the completed room looked like finished as of February 20th, 2010. It's amazing the difference adding the furniture and carpet makes. Since then we have only made minor chages as Caroline has grown. The swing is gone, and some of the little nick nacky things have moved around, but other than that, I think it's a pretty remarkable improvement!


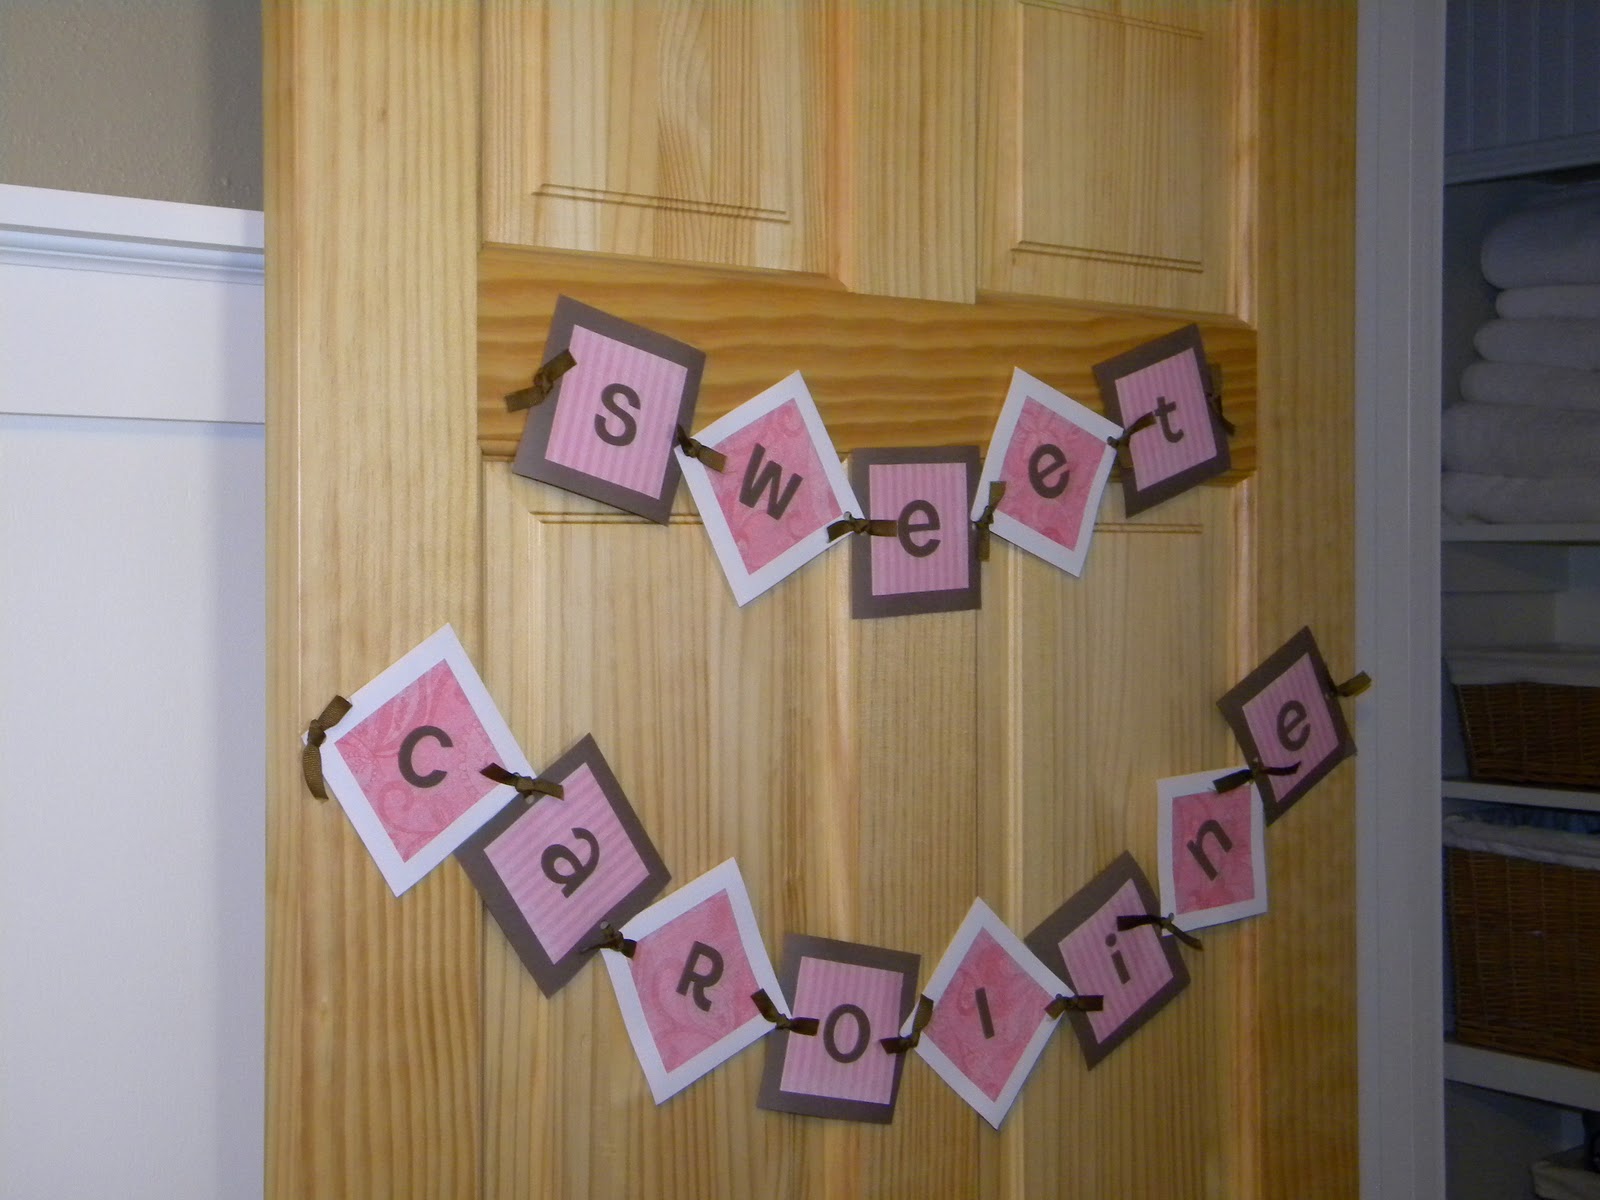
While at my parent's house over Christmas I made this name banner for Caroline, and this is pretty much how 'The Paper Heart Studio' started. I took it with us to the hospital and hung it on our door and then when we came home I hung it on her door. It was so cute.

Furniture: Toys R Us Eastside Collection in Cinnamon
Bedding: Target- no longer available.
Curtains: JCPenney Our color is Seed Pearl

Monday, December 26, 2011

DIY Paper Garland

Now that Christmas is over, and we are all completely exhausted, it is time for me to put all my time and attention into Caroline's birthday party as it is quickly approaching! I have been thinking about decorations and these are super simple ones that will add a nice touch. Time to get busy..


View on Whisker Graphics here.

Tuesday, November 29, 2011

How to make a recipe binder

Now that the holiday baking season is officially here I thought I would share this little ditty with you. I know my recipes get all messed up quicker than I  know what happened. So the Clean Mama has come to rescue us!!
She has created a creative and fun way to keep and store all your recipes! Just make sure you don't forget to use them!!!

View the tutorial here.

Monday, November 21, 2011

Remodeling the House: The Bedroom

Here is the evolution of our bedroom. It seems hard to believe that it used to look like this!
This is what it looked like around the time we moved into our house. We only painted it before we moved in.


Circa Summer 2006
  

Circa March 2007
We actually used what is now our daughter's room as both our office and Master Bedroom for a while after we got married while DH was 'finishing' the bedroom. I think that involved putting in a fan... haha. Another important note is that we had no doors on any of the bedrooms when we moved in. This was fine most of the time, because it was just the two of us, but seems weird now that we have doors, and we use them =)
The first paint we had was called Mark Twain House Bark and I loved it. I made an off hand comment one time about how I loved the color because sometimes it had a tint of purple to it, and so DH wanted to paint it.


 Now it is Milk Chocolate. Not a lot different from what we had before, but now there is no hint of purple. Boo.
After DH finished Caroline's room, he added a new built in headboard and some trim to our room. We also added the sconces AND DH put wood on the ceiling. I feel like everything in our house is covered in wood and it drives me crazy, but it looks amazing and gives the room a much more finished look. The best part about this remodel is that it only took about a week to complete. The bad part about that, is that I don't have a whole lot of pictures to show you.
Unfortunately, I do not have fancy bedding and pillows to make the headboard look amazing.
The bedding is from Target. We have the bedskirt, but we upgraded our bed from a full to a queen and now it doesn't fit. We got it for our wedding. In fact, I think we have 4 sets of this Woolrich bedding in different colors and styles. I usually just switch between the two in this post because I like them the best. They don't carry it any more at Target in these designs, but if you are so madly in love that you can't live without them I will let you buy them, and I will get something new ;)  No fighting.
 As you can see I still don't have a dust ruffle and it has been on my Christmas list for 2 years...hehe.

The picture above our bed was a Christmas gift from my aunt and uncle. My uncle's brother, Ray Hartl, is a photographer and you can view his work here.

Thursday, November 17, 2011

Scrap Paper tree

I have a gratitude tree that I got from Celebrating Home and I am planning on using the Cricut to cut out leaves, hearts, snowflakes and such for the different holidays. This is a great alternative if you don't have an actual tree, just go out in your back yard and pick up all thos sticks.


View the tutorial here.


Wednesday, October 26, 2011

101 Handmade Holiday Tutorials

If you like to make your Christmas presents, now is a good time to get started!! Here is a really long list of some really great ideas. Pick your favorites and tell me how it went!
View the list from Everything Etsy here.

Wednesday, September 28, 2011

Fall Decorating Ideas

I found this website called Remodelaholic and let me tell you..you could spend many days here..
There are so many creative decorating and remodeling ideas it will make you crazy.
Here are a couple of my favorite fall decorating ideas. You can view the entire post here.

Monday, September 19, 2011

Milk jug jack o lanters

It's almost Halloween!! Start saving your milk jugs and use a sharpie to make these spookie ghosties!!
View the tutorial here from Dollar Store Crafts: Milk Jug Jack o Lanterns

Monday, September 12, 2011

DIY Patio Lights

DH and I have been looking for Patio lights FOREVER. Every time we go to Target we have to stop and look. But nothing seems really to be worth the price. These DIY Patio Lights cost $1. Apparently you can buy a bag of the globes at Dollar Tree. I will have to stop to see! You can view the entire project by Craftybutt here

Friday, September 9, 2011

Remodeling the house: The Kitchen

I thought it be fun to do some before and after's of our house on the blog. Unfortunately, I wasn't really around when the house was first purchased, so I don't have any pictures from "before" before. These before pictures are from Summer of 2006. DH's Aunt Brenda took most of the before shots. Thank God for her, because otherwise I would have nothing. So here we go. In the first picture, the cabinets, countertop and sink have already been removed. They were in terrible shape, which would probably make the before and after even better, but oh well. The kitchen and stove in this picture are the same and remain in the same place. BTW: Does anyone else hate the way blogger does photos now? I had a terrible time trying to move these around...grr...                                                                  
Here is the first before and after: As you can see, we took out the wall on the left side of the kitchen to open it up and make room to actually put a table in the kitchen. It's a grand idea!


Before


After


Before


After


We put wainscoting up on the walls and painted it red. Then we had the cabinets and countertop installed. We knew someone who did the install really cheap, so we went with that and it was done in a day. I really love my rugs. We got them at Wal-Mart--haha. But now they are like 5 years old and they really need replaced, but I just can't bear to part with them until I find something that I love more.

DH also put up a wood ceiling and crown molding. You can see it a little bit here. We also put in Pergo floors. I love them and I think all of it together looks great. As you can see there is still some painting to be done, but I think we are going to pull off the door trim and redo it to match what we have in the bedrooms.